You have had your treatment, the applicator is off, and now comes the part nobody warns you about: the waiting. Fat freezing does not deliver an instant result. The changes develop quietly over weeks as your body clears the treated fat cells, and that slow pace makes it surprisingly easy to miss your own progress. Look in the mirror every morning and you will likely conclude that nothing is happening. Compare a careful photo from week one with one from week ten, and the story can be quite different.
This is why recording your journey matters. Done well, before and after documentation does two things: it gives you an honest, side-by-side record of what actually changed, and it keeps your expectations anchored to a realistic timeline rather than the impatient hope of overnight transformation. Below is a practical guide to doing it properly.
Why Documentation Matters More Than You Think
Without structured records, patients consistently underestimate how much they have improved. The human eye is a poor judge of gradual change, particularly on its own body, which we see every day and rarely view from a fixed angle. Add the natural day-to-day fluctuations in bloating, hydration and posture, and the casual mirror check becomes almost useless as a measure of progress.

Clinical studies get around this by using standardised photography and measurement, with the 12-week point as their primary assessment milestone. You can borrow the same discipline. The aim is simple: control everything you can so that the only variable left to show up is the change in your body itself.
The single biggest predictor of a positive fat freezing experience is the quality of the consultation — going in with realistic, well-set expectations is half the battle.
Standardised Photography: The Heart of a Good Record
Photographs are the most compelling part of any before and after record, but only if they are taken consistently. An unflattering “before” and a flattering “after” prove nothing except that lighting and angle are powerful. Lock down the following and keep them identical every single time.
Camera and Environment
- Fixed distance. Stand the same distance from the camera each time — around 1.5 to 2 metres works well. Measure it once and mark the spot on the floor.
- Consistent lighting. Use soft, even, diffuse light and avoid harsh overhead shadows that exaggerate or hide contours. Natural daylight by a window, or the same artificial setup, used every time.
- Plain background. A neutral white or grey wall keeps the focus on you and makes framing easier to repeat.
- Same time of day. Morning, before eating, is ideal. This minimises the diurnal swing in hydration and bloating that can otherwise masquerade as a result — or hide one.
Positioning and Framing
- Identical posture in every shot. Feet together, arms slightly raised and relaxed, standing naturally — not sucking in.
- The same set of angles: front, both sides, and a 45-degree oblique view as a minimum. A change visible from one angle may be invisible from another.
- Identical clothing, or skin-coloured underwear for abdominal shots, so fabric never disguises the comparison.
- Use body landmarks — the navel, a hipbone — to check your framing matches the previous photo before you press the shutter.
As the photographic documentation literature puts it, all conditions should remain as constant as possible so that any change you see is genuinely a change in the subject, not the setup.
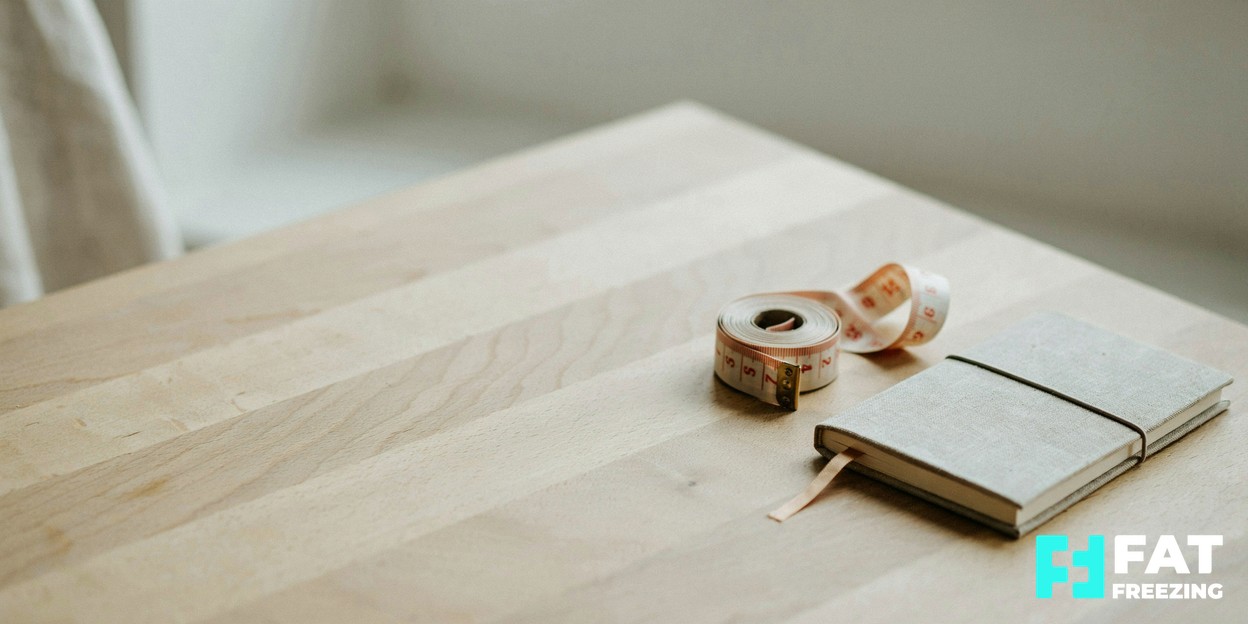
Measurements: The Objective Backbone
Photos can be persuasive, but numbers are harder to argue with. A tape measure costs almost nothing and gives you objective data to sit alongside the images.
| Measurement | How to take it | When |
|---|---|---|
| Tape circumference | Level tape, firm but not pulling tight, same anatomical landmark each time | Baseline, 4 weeks, 8 weeks, 12 weeks |
| Calliper skinfold | Pinch at the same site; average three readings | Baseline and 12 weeks |
| Weight / BMI | Same scale, morning, to confirm weight stability | Baseline and each follow-up |
| Clothing fit | The same reference garment, e.g. a particular pair of jeans | Self-reported at each milestone |
The key with circumference is consistency: same spot, same tension, same posture. Measuring two centimetres higher than last time can easily wipe out — or invent — a result.
Track Against the Timeline, Not Against Yesterday
Knowing what to expect, and when, is the antidote to early-week disappointment. Fat freezing follows a fairly predictable arc, and the most useful thing you can do in the first fortnight is simply not panic that nothing has changed — because it hasn’t yet, and that is entirely normal.
| Milestone | What to expect |
|---|---|
| Day 1 | Redness, firmness and numbness; possibly mild bruising; the area may even look slightly swollen |
| Days 2 to 5 | Bruising may peak; tenderness and sensitivity are common; numbness lingers |
| Weeks 1 to 2 | Inflammation settles; still far too early to judge results |
| Weeks 3 to 4 | First subtle signs; clothes may begin to fit differently |
| Weeks 6 to 8 | Most people see meaningful, visible change — the standard two-month check-in |
| Weeks 8 to 12 | Full result visible in most cases as the treated fat cells finish clearing |
| Months 3 to 6 | Slow further improvement is still possible; the final result window |
Plan your photo and measurement sessions around the meaningful points — baseline, 4 weeks, 8 weeks and 12 weeks — rather than checking obsessively. Most clinics will book you a follow-up at around 8 to 12 weeks, which is the fairest moment to assess what your treatment achieved. Our guide to what to expect from fat freezing results goes deeper into the biology behind this timeline.
It is also worth remembering that what you do in those weeks matters. Good fat freezing aftercare — hydration, gentle movement, the immediate post-treatment massage — supports the clearance process you are trying to document.
Keep Your Weight Stable
This is the point that catches most people out: the scales will probably barely move, and that is normal. Fat freezing is a body contouring treatment, not a weight loss treatment. It reduces the fat layer in a specific, treated area — typically by around 20 to 25 per cent per session — but it does not meaningfully change your total body mass. You lose inches from a pocket of fat, not pounds from the whole of you.
That creates two traps for the unwary. First, if you judge success by your weight, you may wrongly conclude the treatment failed when in fact your waistline has changed. Judge by photos, circumference and clothing fit instead. Second, if you gain weight during the recording period, the remaining fat cells in the treated area can enlarge and partly mask the result — which is why a stable weight makes for a cleaner, fairer comparison. Weighing yourself at each milestone is less about chasing a lower number and more about confirming you have held steady so the comparison stays valid.
Setting Honest Expectations
A good record is only as useful as the expectations you bring to it. A few realities worth holding in mind:

- Fat freezing contours; it does not slim you all over. The right comparison is the treated area, not the bathroom scales.
- A single session typically reduces the fat layer by around 20 to 25 per cent. That is a refinement, not a dramatic reshaping, and larger areas may need more than one session.
- Patience is non-negotiable. Three months is the minimum before you can fairly assess the full result.
- Individual biology varies. Roughly one in five people see a less pronounced result, influenced by tissue thickness, applicator coverage and their own physiology.
None of this is a reason for pessimism — it is the foundation of a satisfying outcome. People who go in understanding what fat freezing is, and is not, are the ones most likely to be pleased with their before and after. If you are still weighing up whether the treatment suits you at all, our honest assessment of whether fat freezing is right for you is a sensible next read.
Ready to Start Your Own Before and After?
The best journeys begin with a good baseline — clear photos, careful measurements and realistic, well-informed expectations. That all starts at the consultation, where we assess your suitability, discuss what a realistic result looks like for your body, and take the proper baseline records that make your eventual comparison meaningful. If you would like to find out more about the treatment itself and book a no-pressure consultation, explore our fat freezing treatment page. We would be glad to help you record a journey worth keeping.